How to Deal with Post-Processing Pains
Over the years operating this site, I have been incredibly lucky to meet many talented photographers from all over the world. Some I met face to face (whether in my workshops or other gatherings / conferences), while others I met and interacted with online. One interesting pattern that I noticed in the majority of photographers, and I am talking about the ones that understand light, composition and proper technique, is that they often lack the key component of completing the image and making it successful – post-processing skills. It turns out that most of us spend our time learning our gear and how to take good pictures, but we fail to take that beautifully captured photograph to the next level and make it look amazing by enhancing it further in post-processing. Yes, camera technique, light and composition are all extremely important and those are certainly key ingredients that each of us needs to learn and eventually master, but we need to understand that a captured photograph is just the beginning of making the image. What happens to the photograph after it is taken, is as important as the process of capturing it. I have seen many photos that would have looked breathtaking, had the person put some extra effort into making it work. Even worse, I have seen so many examples of great photos that get slaughtered by very poor post-processing techniques and ugly presets.
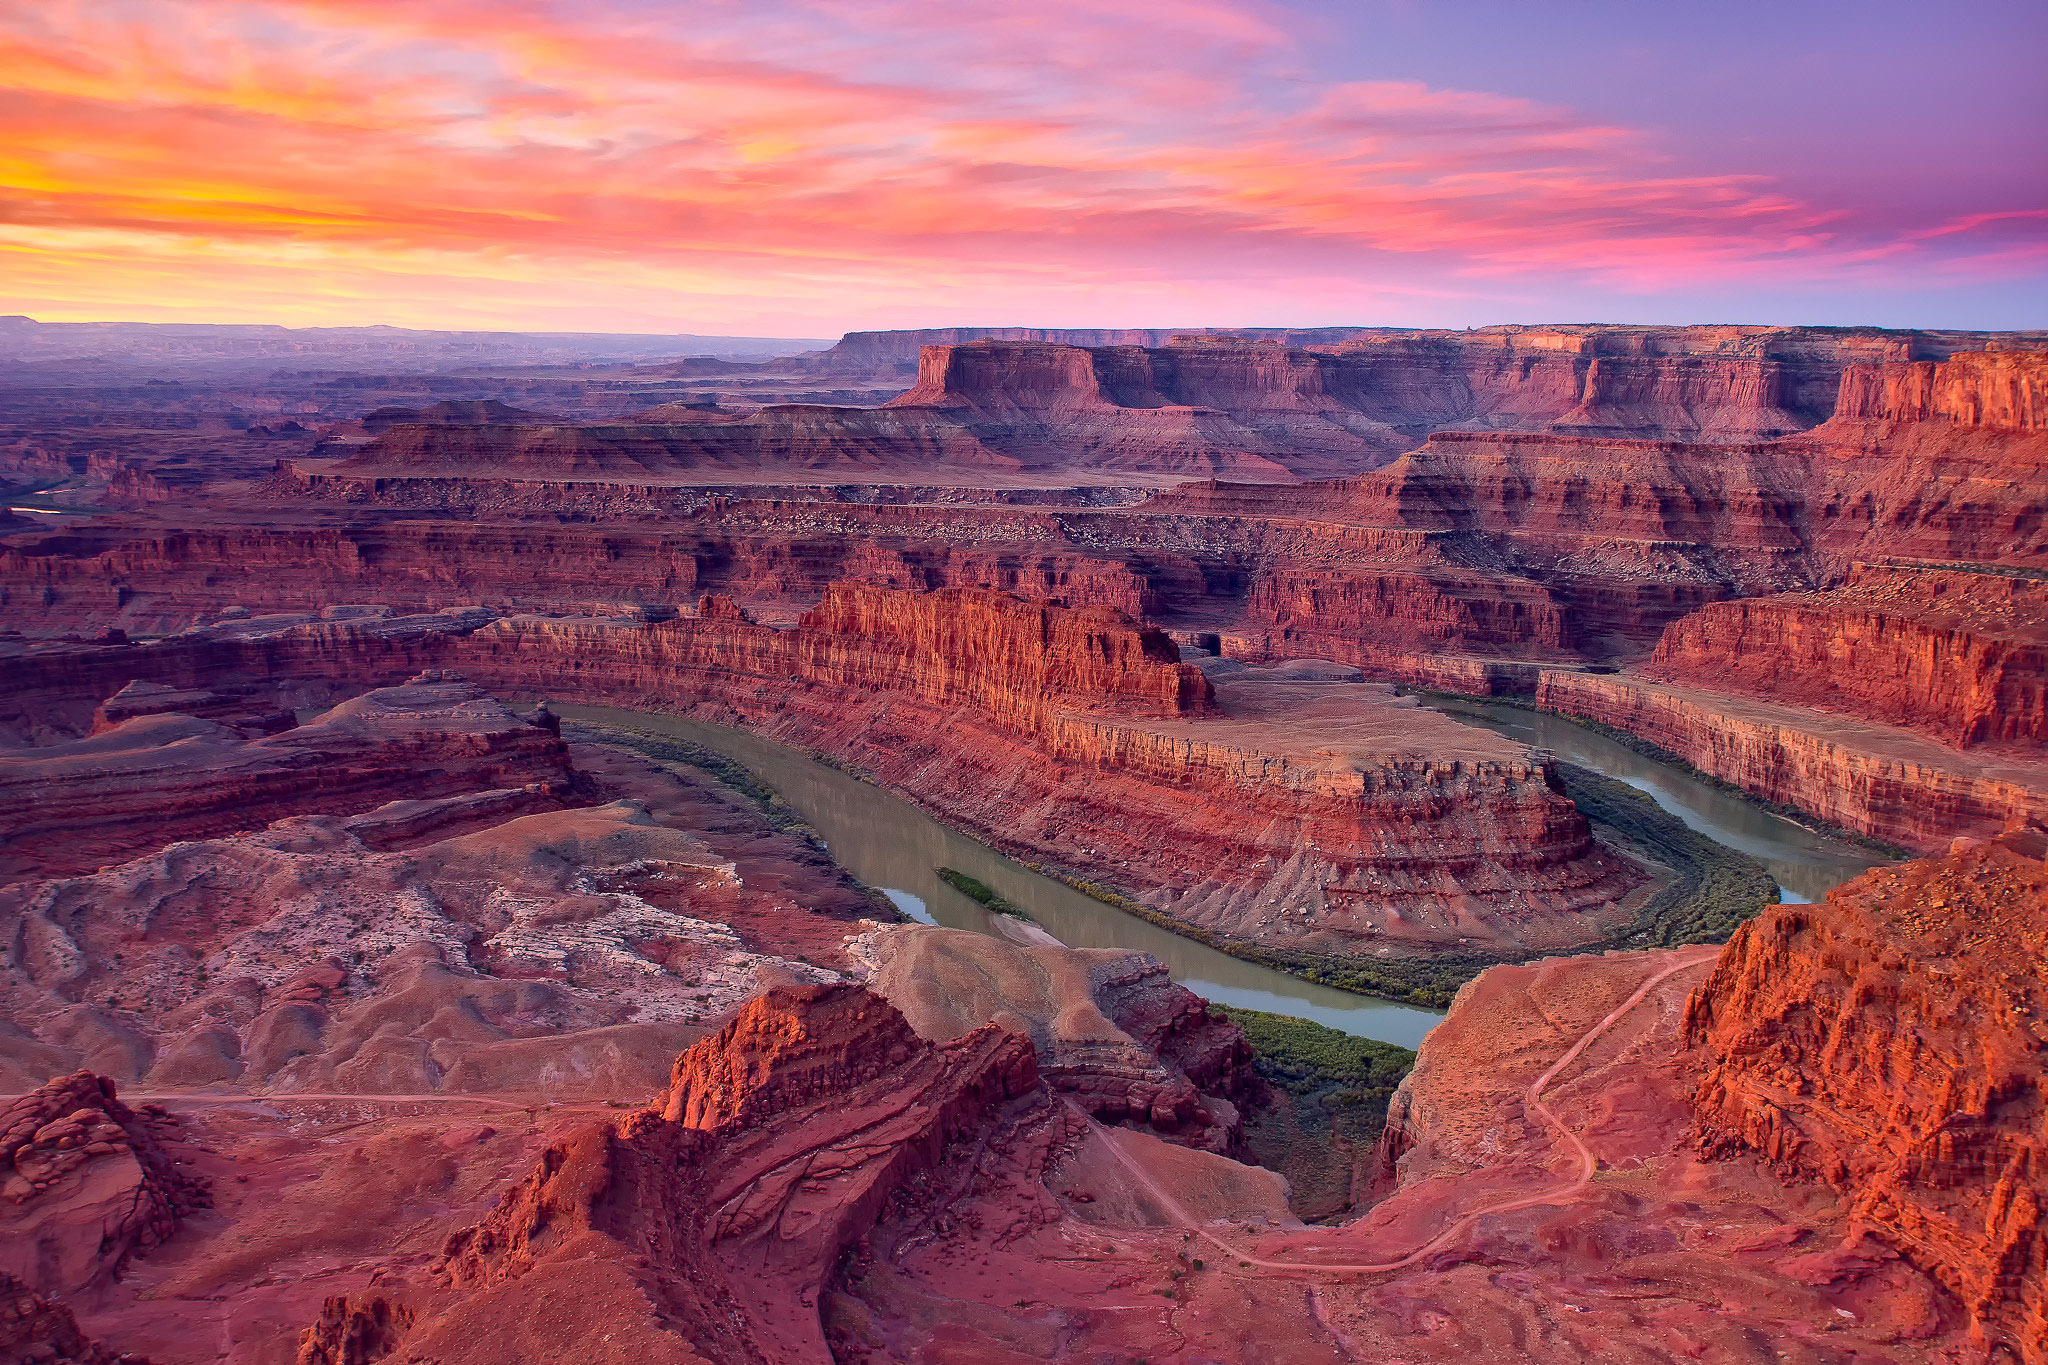
SLT-A77V + DT 16-50mm F2.8 SSM @ 20mm, ISO 100, 1/1, f/8.0
How many times have you seen an overdone HDR, over-saturated, over-sharpened, over-contrasted, over-recovered, over-preset, over-insert-any-photoshop-term-here mess? Unfortunately, I have seen too many. The worst examples are what I call “forced photos”, where the photographer takes a bad image and thinks that it can look better when post-processed. So much time and effort is spent on making a bad photo look terrible. How do I know? Because I have done it many times myself.
When conducting workshops, I always say “start with a well-captured photo and you are halfway there”. This immediately raises a lot of questions from participants, because they know how much time I spend explaining the importance of properly capturing images in-camera during my workshops and in various articles. The topic especially gets attention during the discussion of filters for landscape photography. I often get asked “Why do I need a filter? Can’t I do the same thing in Lightroom/Photoshop/Photomatix?”. I then have to explain in detail why capturing a photograph properly in-camera is important and that it gives far more options to make it look even better in post-processing later on (see this article for details on filters and also check out my detailed lens filters explained article). In short, start out with a great photograph and make it look magnificent! Don’t start out with a crappy photo that needs a boatload of Photoshop work to look good – that rarely ever works out. See an example of what a typical photo looks like before and after post-processing (move the mouse over):

With the advent of the computer and digital photography, the market got quickly over-saturated with a plethora of software offers and presets. These software companies are fooling new photographers into thinking that they do not need to learn anything and they can simply apply a preset or two and their photographs will look instantly good. What a load of nonsense. What makes you think that someone else’s presets are good for your photos? If your photos look bad, they will look bad even more with presets. I am not implying by any means that presets are bad; on the contrary, if you start out with a great photograph, a preset that slightly boosts colors, contrast and perhaps other variables could make the photo look better. But before you start exploring those presets, you must already possess the knowledge to make the photo look good. Once you do, the presets simply become time-savers for you – nothing more.